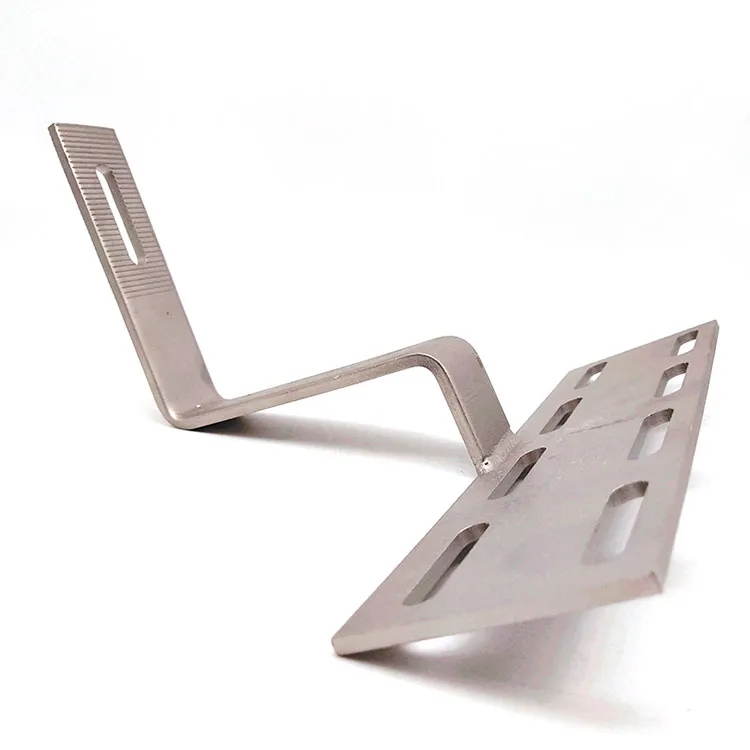
How to Install Solar Mounting Brackets: A Step-by-Step Guide
2024-10-21
Installing solar mounting brackets is a crucial step in setting up solar panels, ensuring that they are securely fixed and optimally positioned to capture sunlight. Whether you are mounting on a roof or on the ground, this guide will walk you through the installation process. Always ensure safety precautions are followed, and if needed, consult a professional.
Step 1: Gather Necessary Tools and Materials
Before starting, make sure you have the following tools and equipment ready:
- Solar mounting brackets
- Solar panels
- Measuring tape
- Power drill
- Screws/bolts (as per bracket specifications)
- Roof sealant or waterproofing material (if mounting on a roof)
- Ladder (for roof installations)
- Level
- Wrench or socket set
- Safety gear (gloves, helmet, harness for roof work)

Step 2: Determine the Mounting Location
- Roof Installation: Choose a section of the roof that receives maximum sunlight throughout the day. South-facing areas are ideal in the Northern Hemisphere, and north-facing in the Southern Hemisphere.
- Ground Installation: Choose an open area free of shadows from trees, buildings, or other obstructions.
Make sure that the roof or surface is strong enough to support the weight of the solar panels and mounting equipment.
Step 3: Measure and Mark Bracket Positions
- Measure and mark the positions where the brackets will be installed. The placement should correspond to the size of your solar panels and the layout you want.
- Ensure the markings align properly, with enough spacing between brackets to securely hold the panels.
For roof installations, be sure to position brackets on the roof rafters for maximum stability.
Step 4: Pre-Drill Holes
- Use a power drill to create holes where the mounting brackets will be installed.
- For roof installations, make sure the holes are drilled into the rafters (for stability) and not just the roof decking.
- For ground installations, you may need to anchor the brackets into a concrete foundation or ground anchors for a secure base.
Step 5: Install the Brackets
- Place the brackets over the pre-drilled holes and fasten them securely with screws or bolts using a wrench or socket set.
- For roof installations, apply roof sealant or waterproofing material around the screws to prevent leaks.
- For ground installations, ensure the brackets are anchored firmly into the ground or concrete.
Step 6: Ensure Brackets are Level
- Use a level to make sure the mounting brackets are aligned properly. This ensures that your solar panels will sit flush and capture sunlight efficiently.
Step 7: Attach Rails to the Brackets
- Once the brackets are in place, you will need to attach the mounting rails to the brackets. These rails provide the base for securing the solar panels.
- Secure the rails tightly to the brackets using screws or bolts.
Step 8: Mount the Solar Panels
- With the brackets and rails in place, you can now lift and position the solar panels onto the mounting system.
- Attach the panels to the rails using the provided clamps or fasteners. Make sure they are tightly secured to prevent movement or dislodgement in high winds.
Step 9: Double-Check Everything
- After mounting the solar panels, double-check that all brackets, rails, and panels are securely fastened.
- Ensure that the panels are angled correctly to maximize sunlight exposure.
Step 10: Connect Electrical Wiring (if applicable)
- Once the panels are mounted, the next step is to connect the wiring, which should be done by a certified electrician. Make sure to follow local codes and regulations when connecting the system to an inverter or the electrical grid.
Final Tips:
- Always follow the manufacturer’s instructions for the specific solar mounting brackets and panels you are using.
- Consider using a tracking system if you want your panels to adjust throughout the day for optimal sunlight.
- Regularly inspect and maintain your mounting brackets and solar panels to ensure they remain securely attached and operational.
By following these steps, you can install solar mounting brackets effectively and create a solid foundation for your solar energy system.
Gangtong Zheli Fasteners is a professional China Solar Bracket manufacturers and suppliers which provide customized service of Solar Bracket. Welcome to inquiry us at ethan@gtzl-cn.com.


